Getting Started
Prerequisites for SenseOps UI Builder
SenseOps UI Builder can be installed like any other mashup in Qlik Sense via QMC(Qlik Management Console). Before installation, make sure you have the following:
Windows user with local Administrator access (Where Qlik Sense Server is installed)Qlik Sense User Credentials with RootAdmin accessPostgres DB (No installation needed, since QS repository database itself can be utilized)SenseOps UI Builder will run on port 4000 and the same should be available
Installation
Quick video - How to install SenseOps UI Builder ?
The short video below will walk you through installing SenseOps UI Builder in four easy steps.
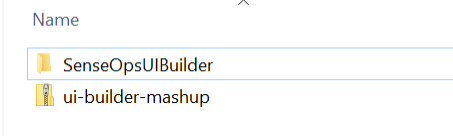
The SenseOps UI Builder package will be downloaded in a zip format. Following files will be available upon unzipping.
ui-builder-mashup.zip- SenseOps UI Builder client mash-up fileSenseOpsUIBuilder folder- SenseOps UI Builder engine/server file
You need to move the extracted folder to the Qlik share folder. Refer the below path:
Go to \< QlikShare >\Tools\ folder (create folder if it does not exist) and within that "SenseOps UI Builder" as a sub folder. Paste the all copied files here.
SenseOps UI Builder - Client Installation
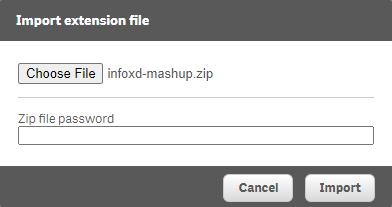
Step 1 - Login into QMC (Qlik Management Console) and go to Extensions. Import the ui-builder-mashup.zip file.
SenseOps UI Builder - Server Installation
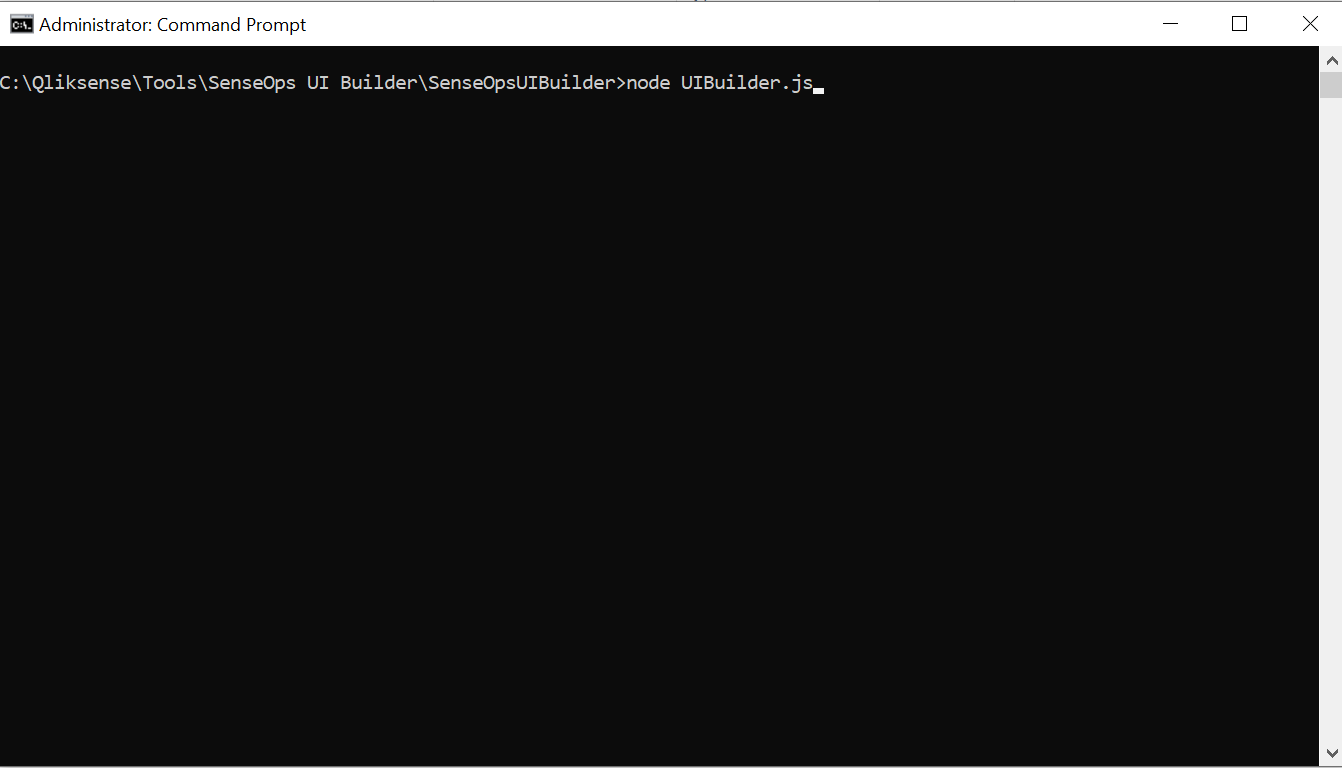
Step 2 - Go to the file path: "QlikShare/Tools/SenseOps UI Builder/SenseOpsUIBuilder/Ui-builder", open the command prompt with administrator privileges, type node UIBuilder.js and hit Enter.
Now open the following link http://localhost/extensions/ui-builder/index.html#/solution/
Step 3 - Database Config - The above URL will take you to fill the database form. Click "Click here" button to continue.
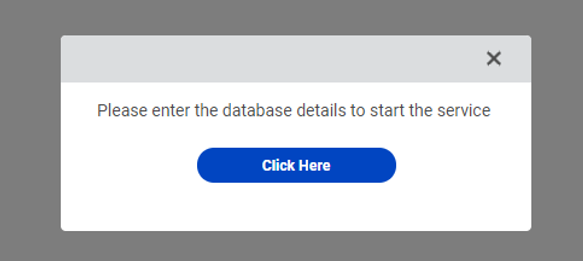
You can use an existing Postgres database with Qlik Repository to construct a database, or use a different Postgres instance aviable.
● Database Host Name   -  localhost/Custom hostname

● Database Port No     -  4432/Custom port

● Datbase Username     -  Username of postgres

● Datbase Password     -  QS Repository Password/Postgres Password
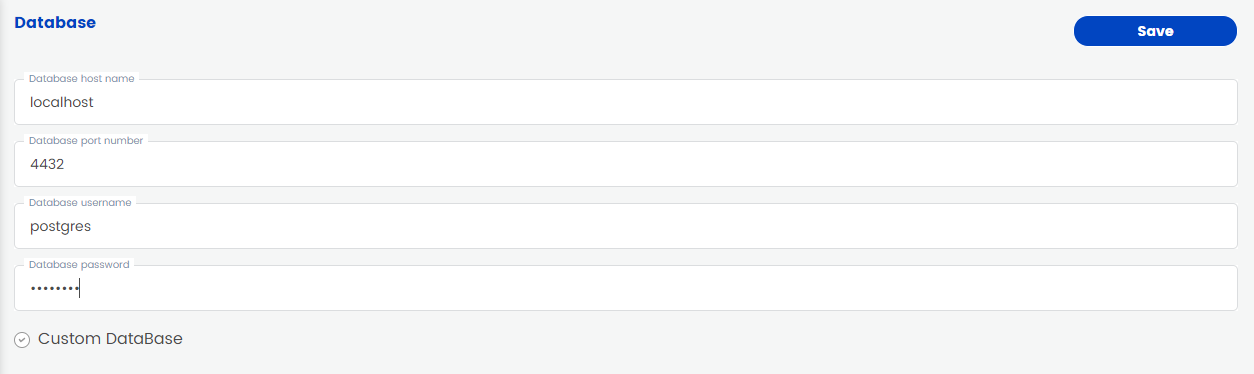
Click "Save" button to create a SenseOps UI Builder repository in Postgres. Using Custom Database option, user can create their custom database name. ** Having created a custom database name, restart the SenseOpsUIBuilder services with admin rights.**
Step 4 - After the database is created, enter the License Key information.
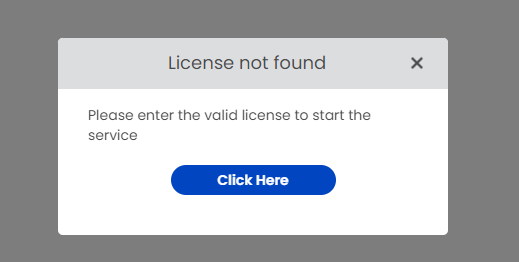
Click "Click Here" button to fill the License Key information.
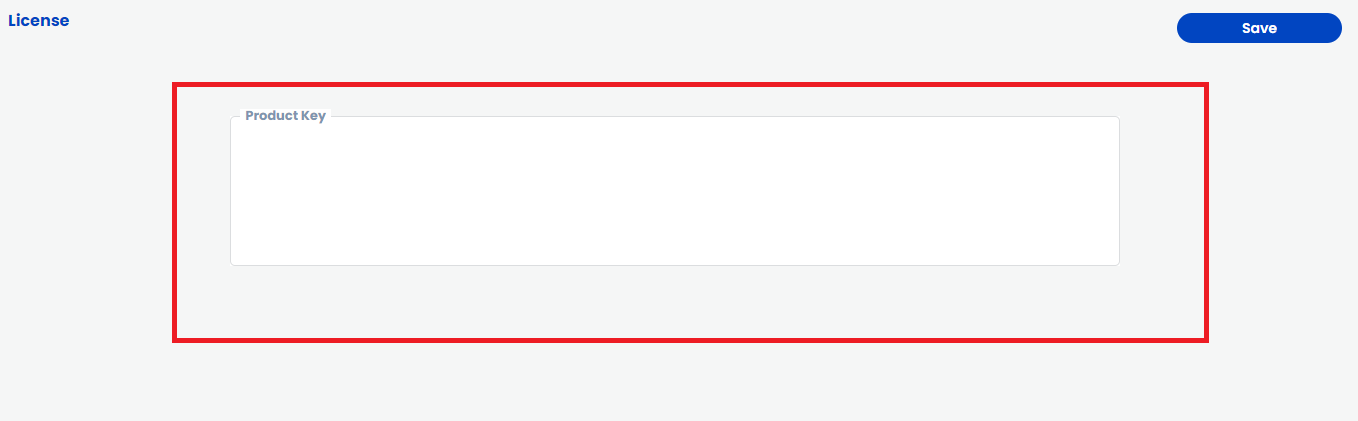
** After saving the details, the SenseOps UIBuilder services application must be restarted with admin rights **
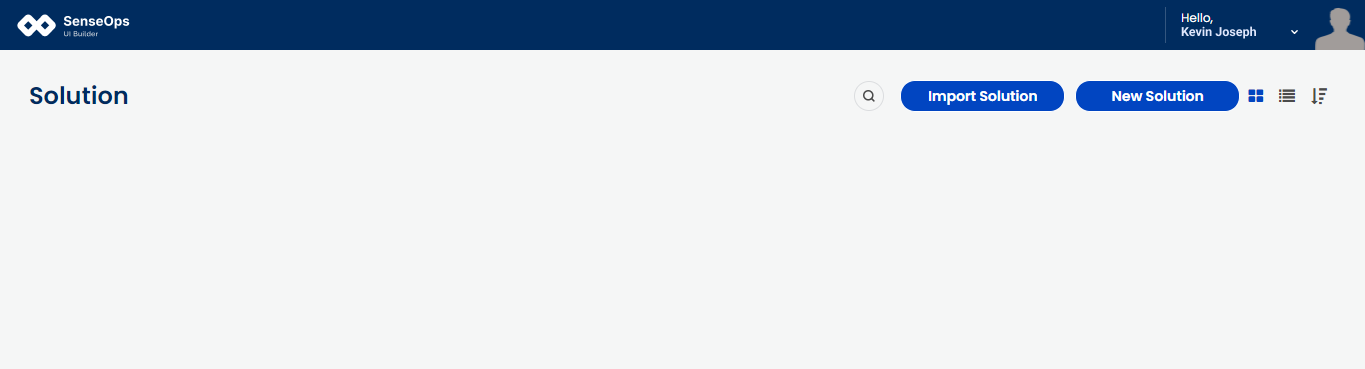
Installation is successful. Now you're all set to build your first solution.