Commit Repository
This step-by-step guide illustrates the process of executing modifications within code management platform. It focuses on navigating repositories, accessing branches, and committing changes.
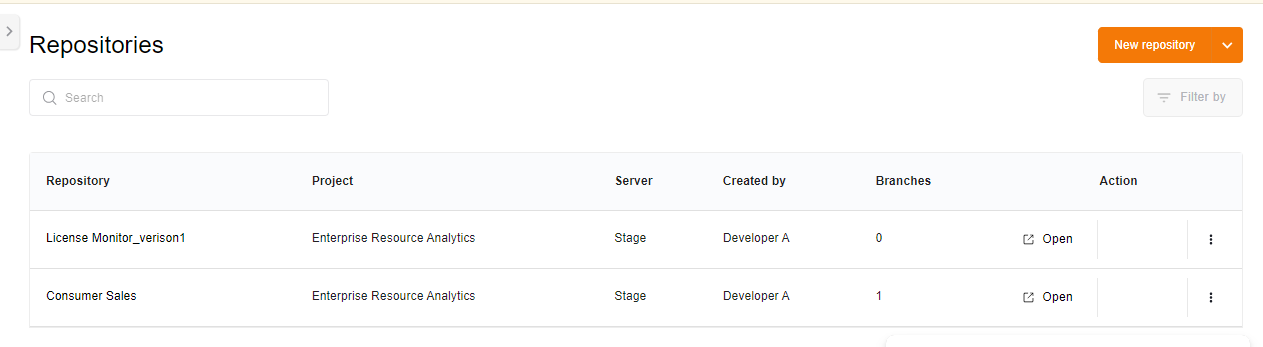
1. Log in to the code management platform and navigate to the repositories page where all repositories are listed.
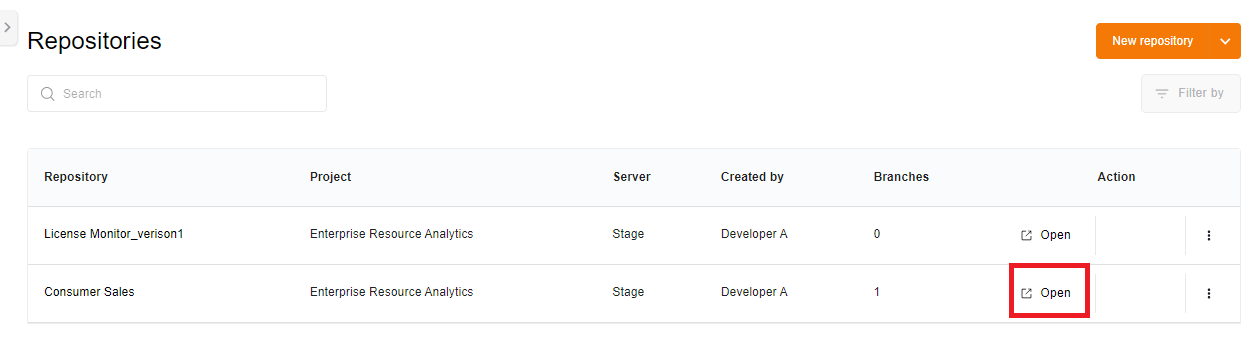
2. Click "open" next to the desired repository to access the commits page. Here, you can view applications across different branches, including master and those created by developers.
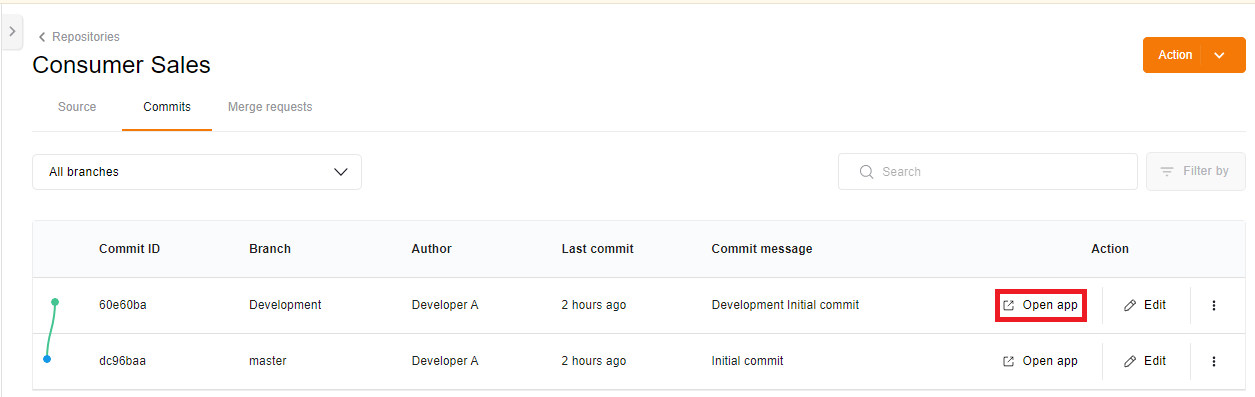
3. Choose the appropriate branch where you wish to execute changes. Click "open app" against the selected branch to access the Qlik Sense application within the platform.
4. Implement the required modifications within the Qlik Sense application. This may include adjusting visuals, introducing new dimensions, or modifying existing logic to meet the project requirements.
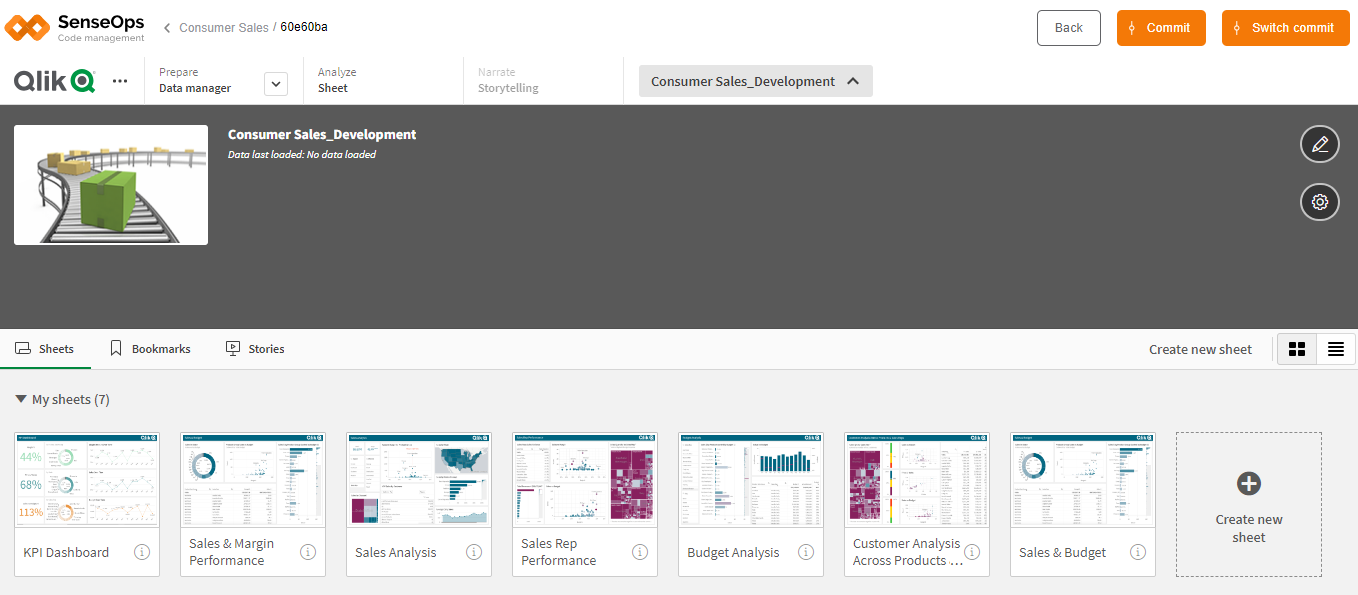
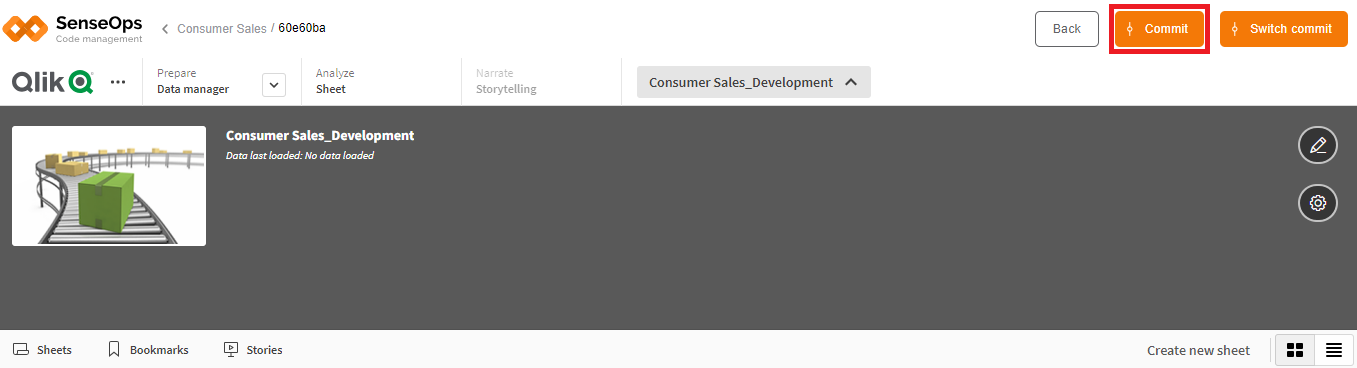
5. After making the necessary changes, click the "action" button at the top right corner of the application interface and click on "commit". However, If you wish to explore differences between versions and branches, click on "Switch Commit".
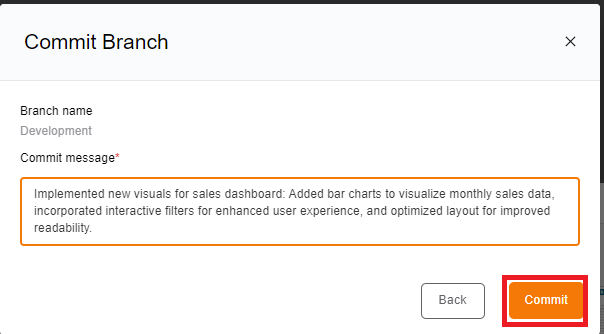
6. A pop-up window will appear, displaying the branch name and prompting you to enter a meaningful commit message summarizing the changes made. Provide a clear and descriptive message that outlines the purpose of the modifications. Once the commit message is entered, click "commit" to finalize the process.
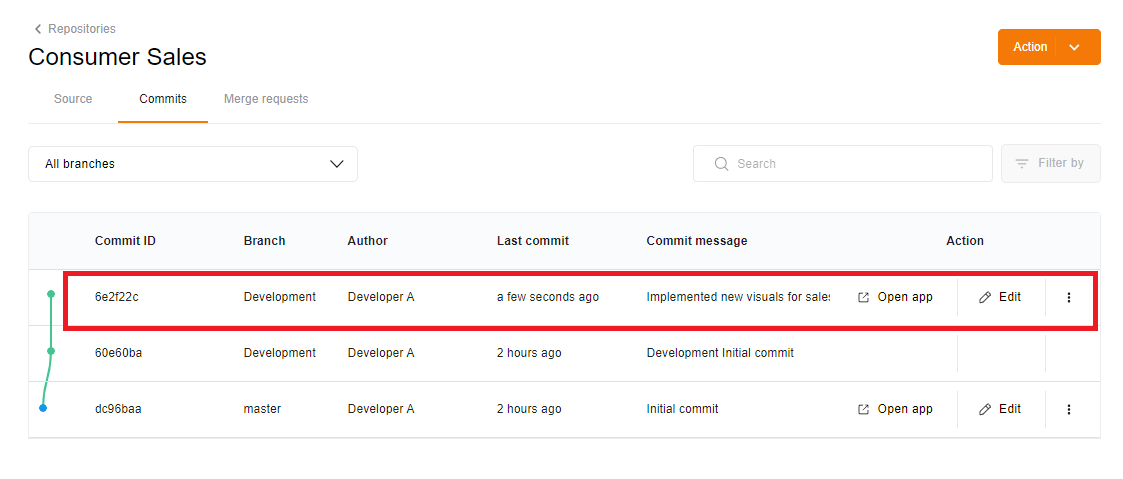
7. Upon committing, you'll be redirected to the commits page where you can view the recently committed version of the branch, ensuring that your changes are successfully recorded and tracked within the code management platform.