Getting Started
Welcome to Code Management!
Get ready to streamline your code management experience! This guide will walk you through the essential steps to set up your first repository:
-
Accessing Repositories Page: Learn how to navigate to the repositories page and create a new repository.
-
Adding Server and Fetching Applications: Add a server, fetch applications and streams, and select the ones you want to add to your repository.
-
Naming and Creating Repository: Customize the repository and project names, provide a commit message, and create your repository.
Let's dive in and start organizing your code efficiently!
Step 1- Accessing Repositories Page
- Once the product is successfully installed, by default, you will be directed to the repositories page.
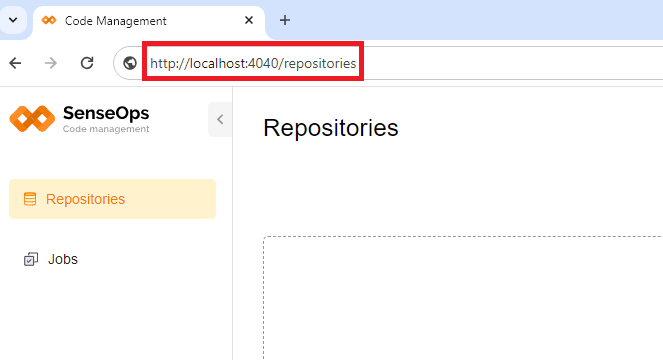
- If you are visiting this page at a later time after installation, simply enter http://localhost:4040/repositories in your web browser.
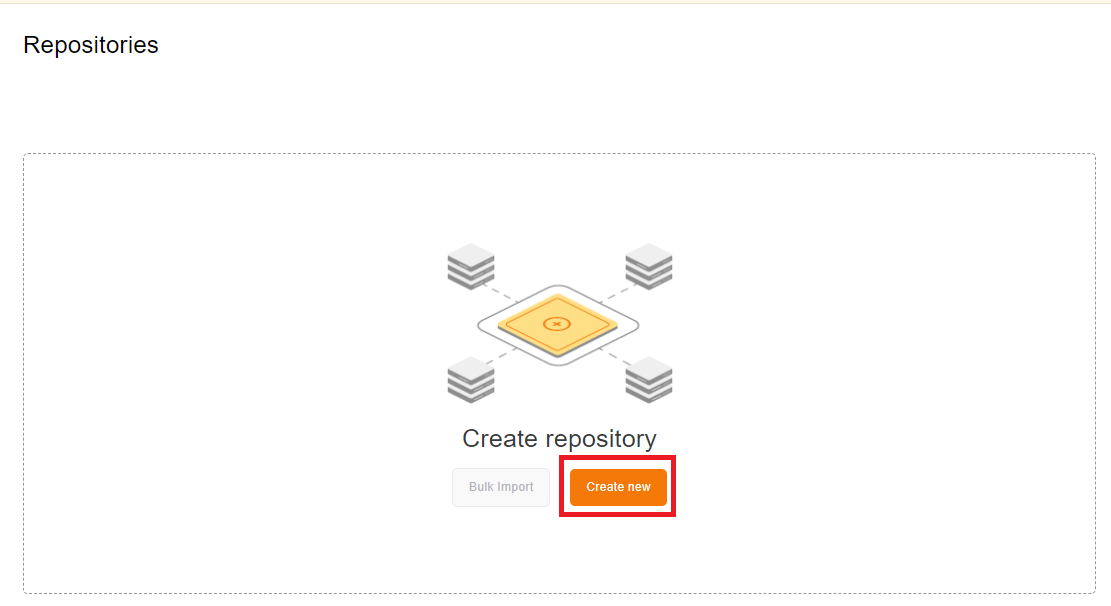
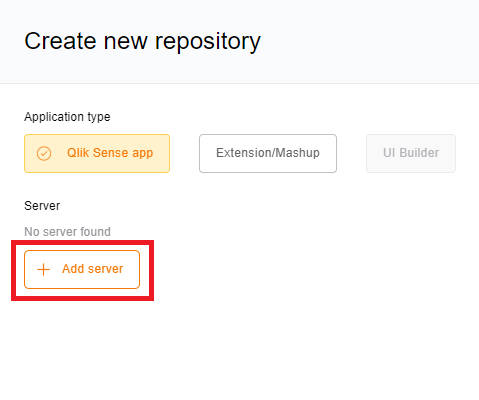
- On the repositories page, you'll find two prominent buttons at the center: 'Create New' and 'Bulk Import'. Click 'Create New' to set up a new repository. An overlay panel titled 'Create new repository' will appear on the right.
Note: **'Bulk Import'** functionality is under development; please proceed with 'Create New' for now.
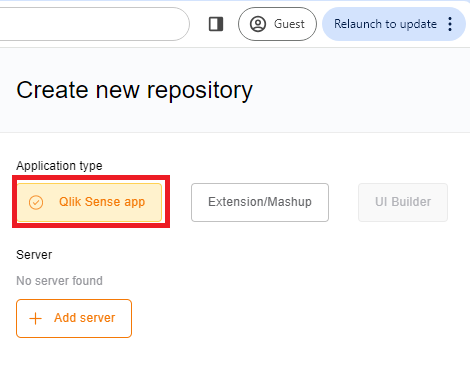
- Here, choose the application type for your repository: Qlik Sense App, Extension/Mashup, or UI Builder. For this guide, we'll focus on creating a Qlik Sense App repository.
Step 2- Adding Server and fetching applications
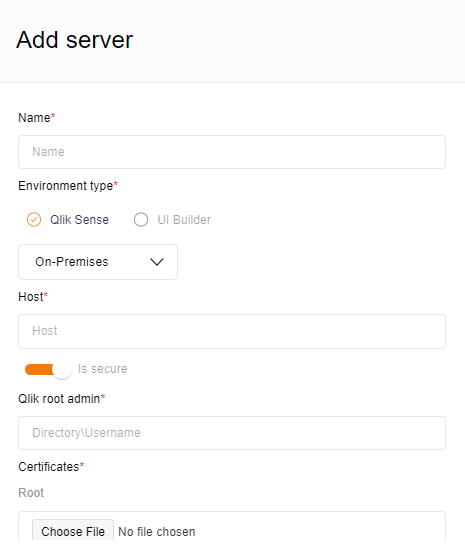
- After selecting the application type, click "Add Server". A new panel will slide in from the right, presenting fields to input server details including name, environment type, host, and more. Ensure accurate information is provided in these fields. For detailed instructions on adding a server, refer to the Add Server section.
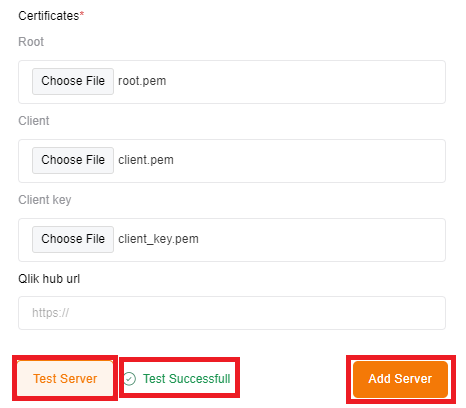
- Once server details are provided, click "Test Server" to verify the connection. If the test is successful, a message "Test Successful" will be displayed, indicating that the server has been successfully added.
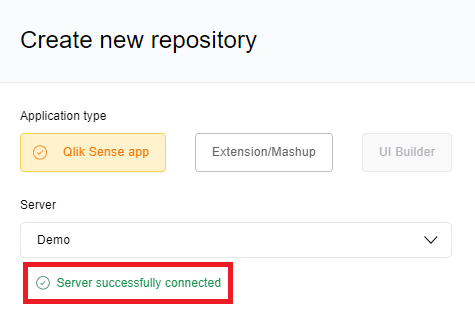
- After adding the server, you'll automatically return to the create new repository panel. Now, locate the "Server" drop-down menu and select the newly added server.
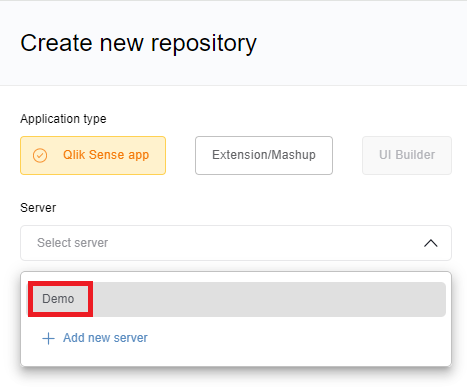
- Upon selection, you'll receive a message "Server successfully connected" confirming the successful connection to the chosen server.
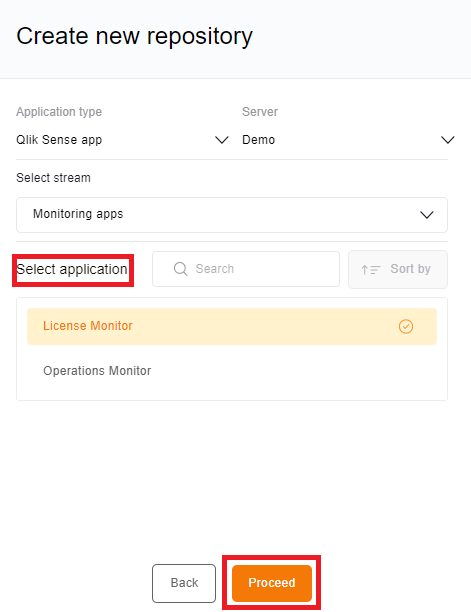
- With the server connected, click "Get Applications" to fetch available applications and streams.Choose the desired stream, then select application from the stream and click proceed to add to the repository.
Step 3- Naming and Creating Repository
- After selecting the application, the panel will refresh. Here, you can review the selected application's name and the connected server's name.
- You can also edit the repository name (defaults to the application name) and the project name (defaults to the stream name). Provide a concise commit message and description for the repository.
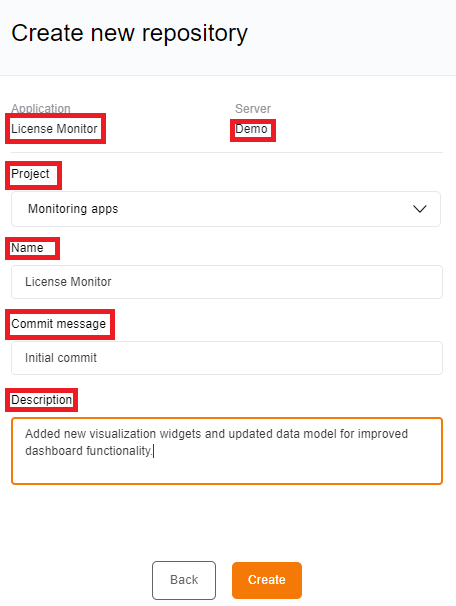
- Finally, click "Create" to initiate the creation of the repository.
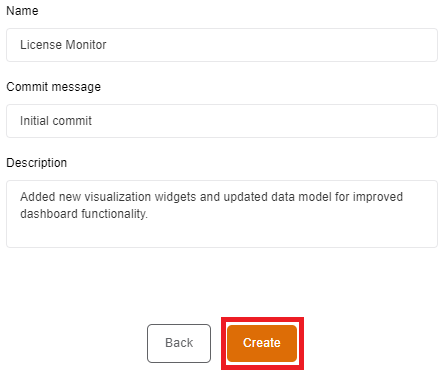
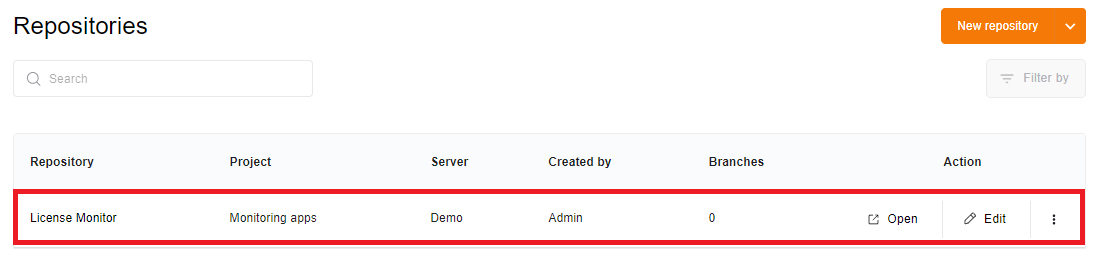
- When it's done, you'll see a message saying "Repository created successfully!"
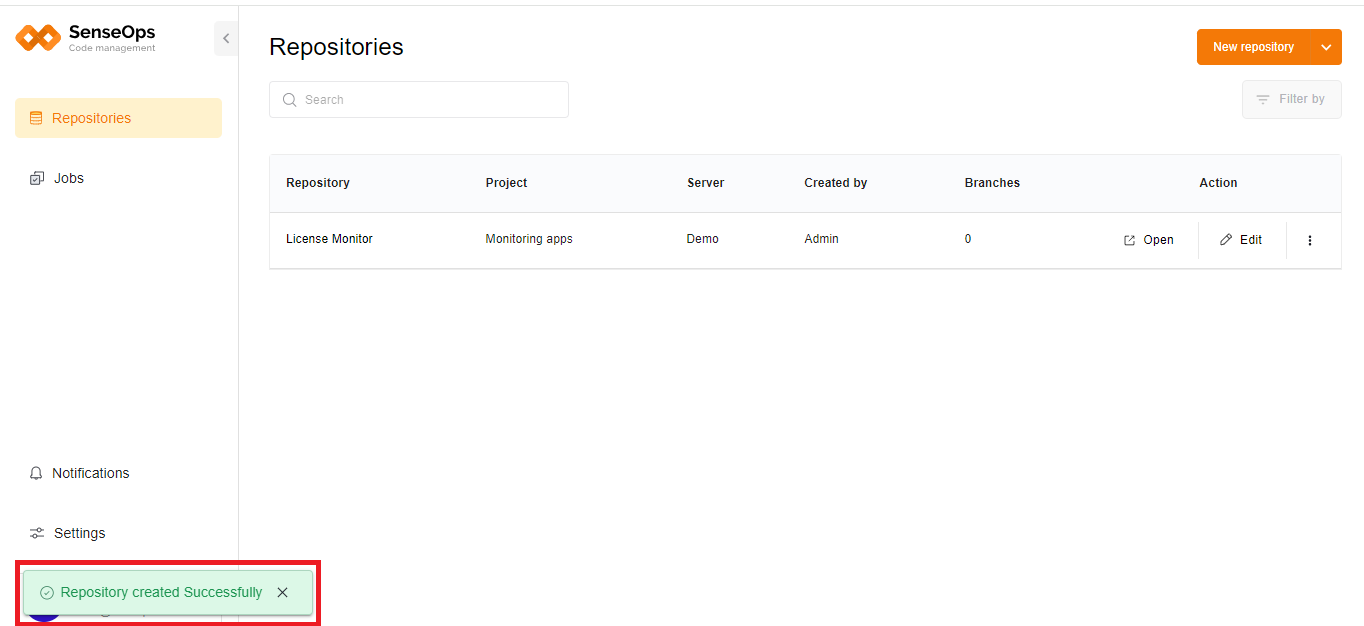
- Well done! You've just made your first repository. Take a look at it at the repositories page.