Add Server
Follow these steps to input server details, configure and verify server connections:
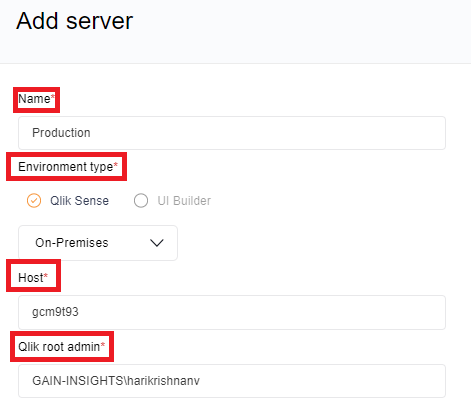
1. Server Name: Enter a descriptive name for the server to easily identify it later.
2. Environment Type: Select the type of environment. Options typically include "Qlik Sense" or "UI Builder".
3. Host: Provide the hostname of your server. This can usually be found in your Qlik Sense Management Console (QMC) URL.
4. Qlik Root Admin: Enter the credentials of the Qlik Root Admin. These credentials are often located in the Users section of the QMC.
5. Certificates: Upload the required certificates including root, client, and client key. These certificates are crucial for secure communication with the server and are typically located in the directory: <Installation Directory>\Repository\Exported Certificates\.Local Certificates.
6. Qlik Hub URL: Enter the URL for the Qlik Hub as provided by the administrator.
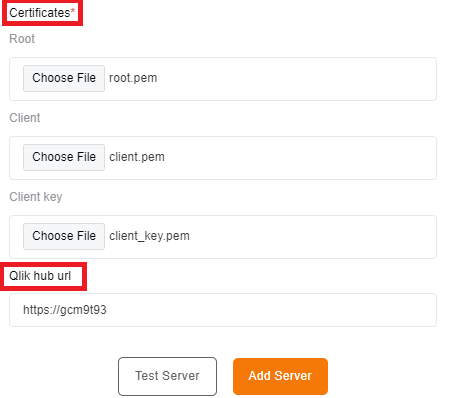
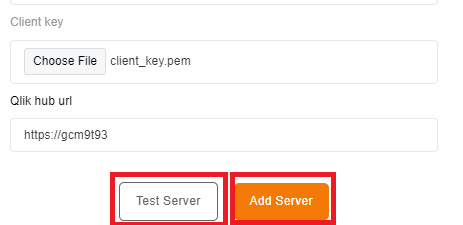
Once all the necessary details are entered, proceed by clicking on the "Test Server" button to verify the connection. If the test is successful, indicating that the entered information is correct, you can then finalize the process by clicking on the "Add Server" button.
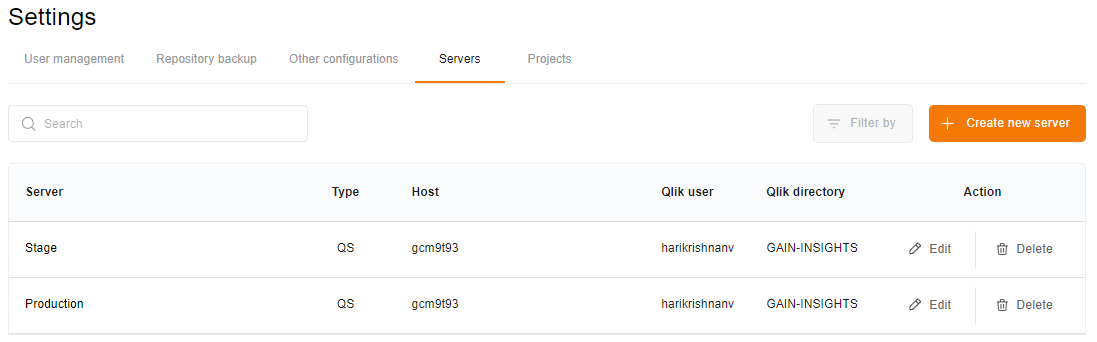
Upon successful addition, you will receive a confirmation message, and the server will be added to the list of available servers.