Create Repository
This guide will walk you through the steps to create repositories on the Code Management platform:
Step 1: Logging In and Accessing Repositories Page
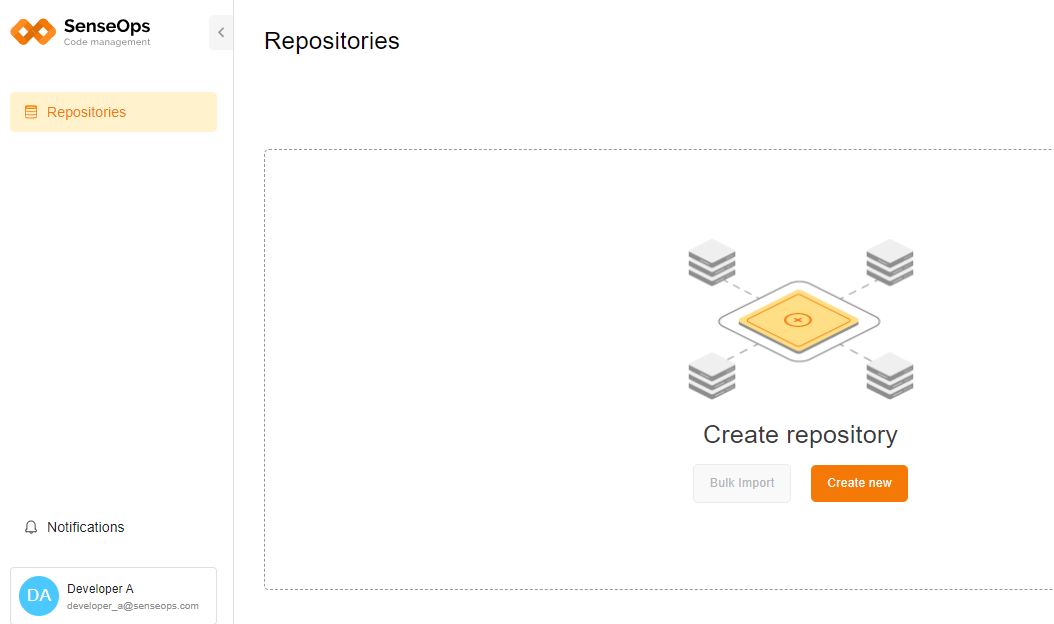
- Log in to the Code Management platform. You'll be directed to the repositories page upon logging in.
-
Repositories are typically created by developers, with managers overseeing the process and are less involved in creating repositories directly.
-
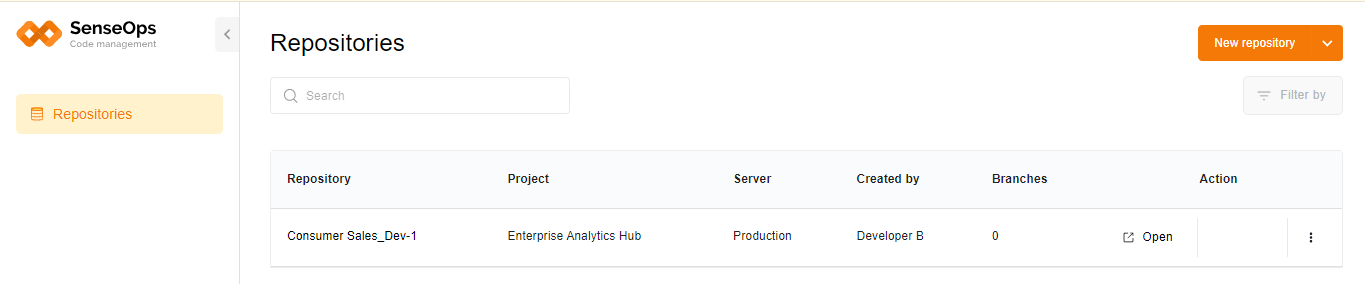
The repositories page displays a list of existing repositories, including their details such as repository name, project name, server name, creator, branches, and available actions.
-
If it's your first time creating a repository, you'll find the "Create new" button at the center of the repositories page as there are no repositories to display yet.
Step 2: Creating Your First Repository
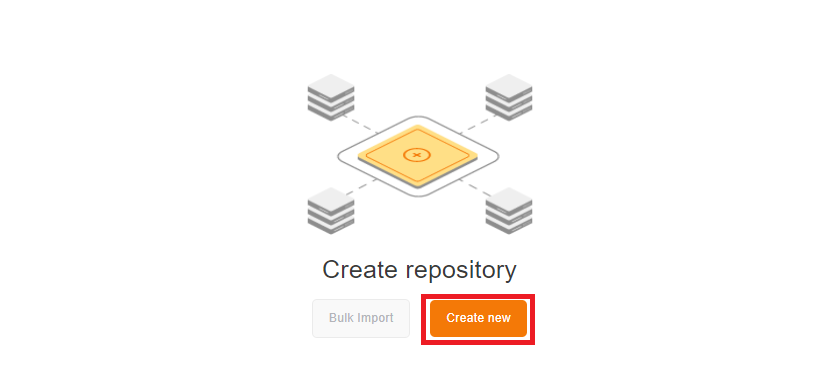
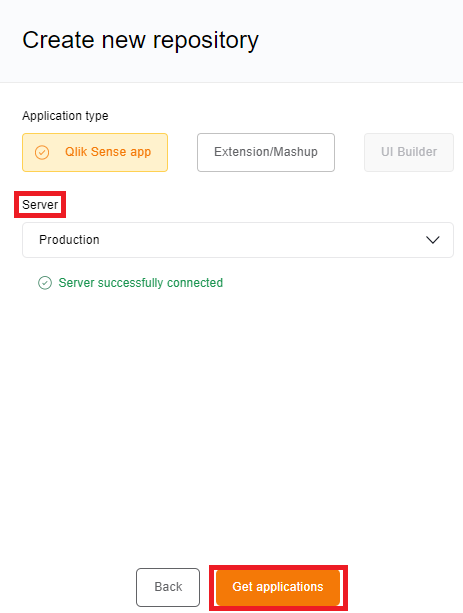
- Click the "Create new" button to start creating your first repository. An overlay panel titled 'Create new repository' will appear on the right.
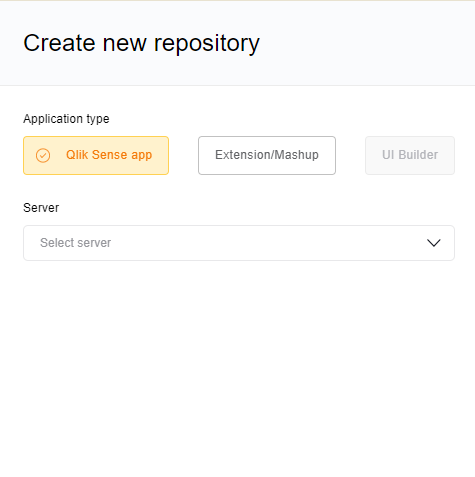
- Choose the application type for your repository: Qlik Sense App or Extension/Mashup. After choosing the application type, select the server and click 'Get applications' to fetch available applications and streams.
Note
Servers are typically managed and added by administrators. If you need guidance on adding a server, Add Server section to view the steps involved.
- Choose the stream, then select application from the stream and click proceed to add to the repository.
The panel will refresh. Provide a concise commit message and description for the repository.
**Note:** Here, you can review the selected application's name and the connected server's name. You can also edit the repository name (defaults to the application name). But as a developer, you can't edit the project name as it's assigned by managers.
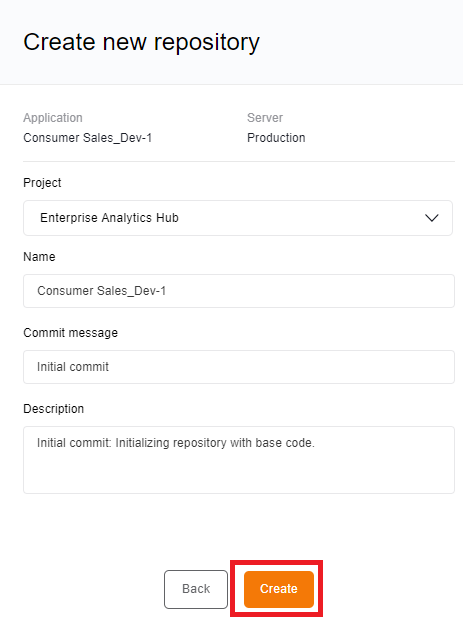
- Click "Create" to initiate the creation of the repository. Once created, you'll receive a confirmation message indicating the successful creation of the repository.
- Well done! You've just made your first repository.
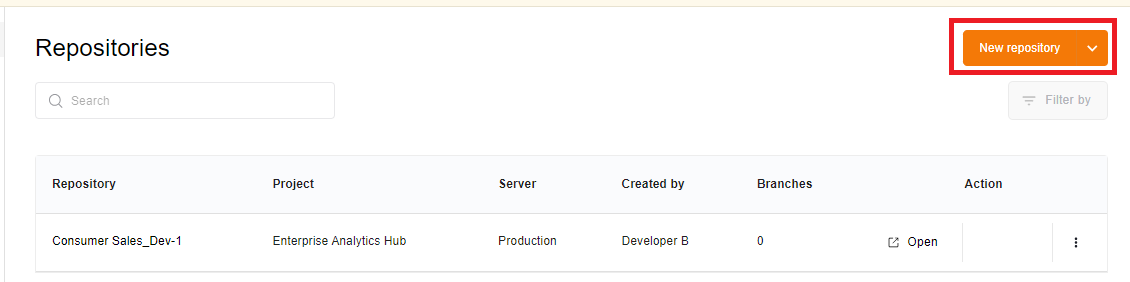
Step 3: Creating Subsequent Repositories
- After creating your first repository, you can create subsequent repositories by clicking the "New Repository" button available at the top right corner of the repository page.
-
Follow the same process as outlined in Step 2 to select the application type, server, project, and provide necessary details for the repository.
-
Your newly created repositories will be listed alongside existing ones on the repositories page.

-
You can now efficiently manage multiple repositories for your projects!
-
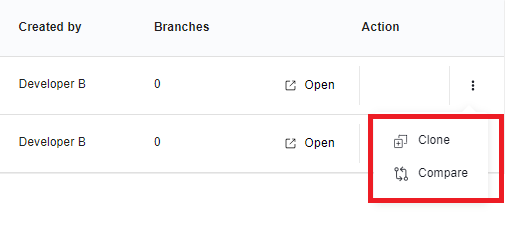
In the actions column of the repositories table, developers can perform actions such as cloning the repository or comparing changes between versions.