Clone Repository
This guide provides a step-by-step overview of cloning a repository in the Code Management platform.
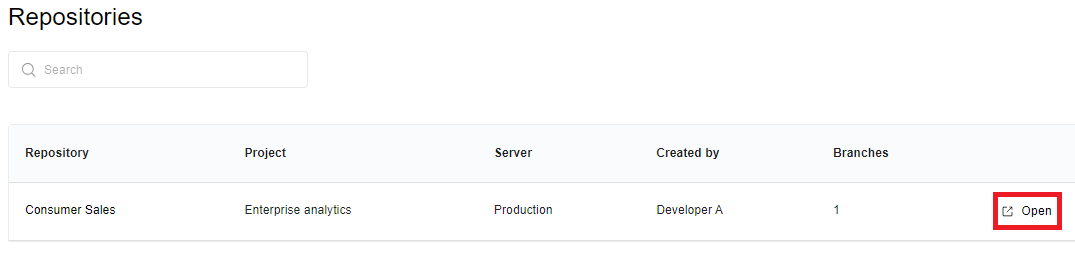
Step 1: Sign in to the Code Management platform and navigate to the repositories page where your repositories are listed.
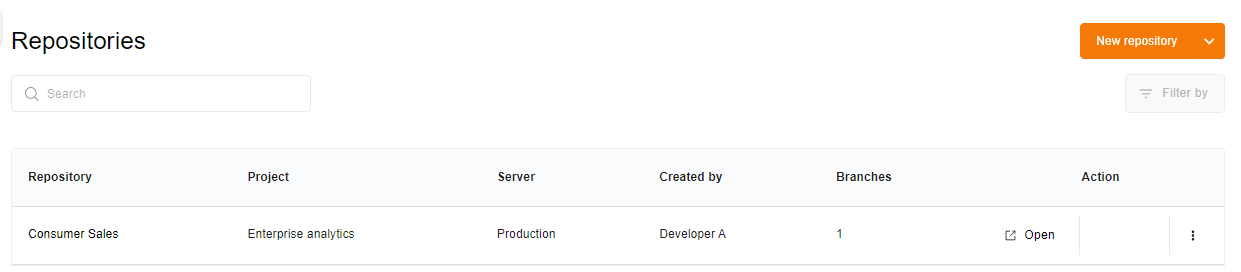
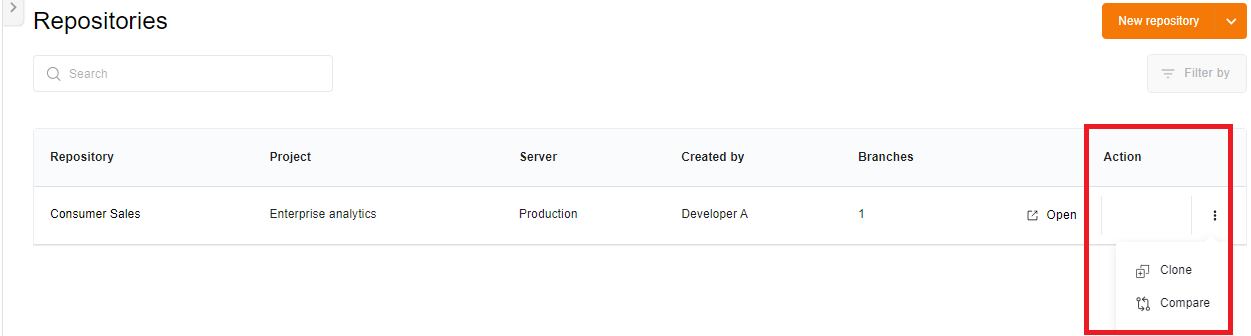
Step 2: Locate your repository among the list of repositories. In the actions column for your repository, click on "clone" to begin the cloning process.
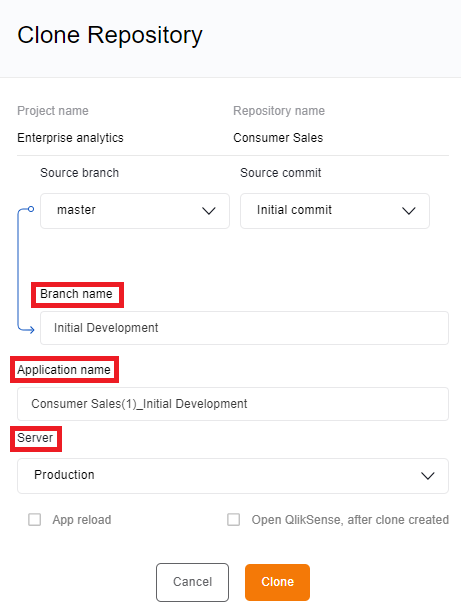
Step 3: A sliding pane will appear on the right titled "Clone Repository". Here, you'll find pre-filled fields for project name and repository name. Specify the source branch (defaulted to master) and the source commit. Enter the desired name for the new branch. You can optionally change the application name. Select the target server from the dropdown menu where you intend to create the cloned branch.
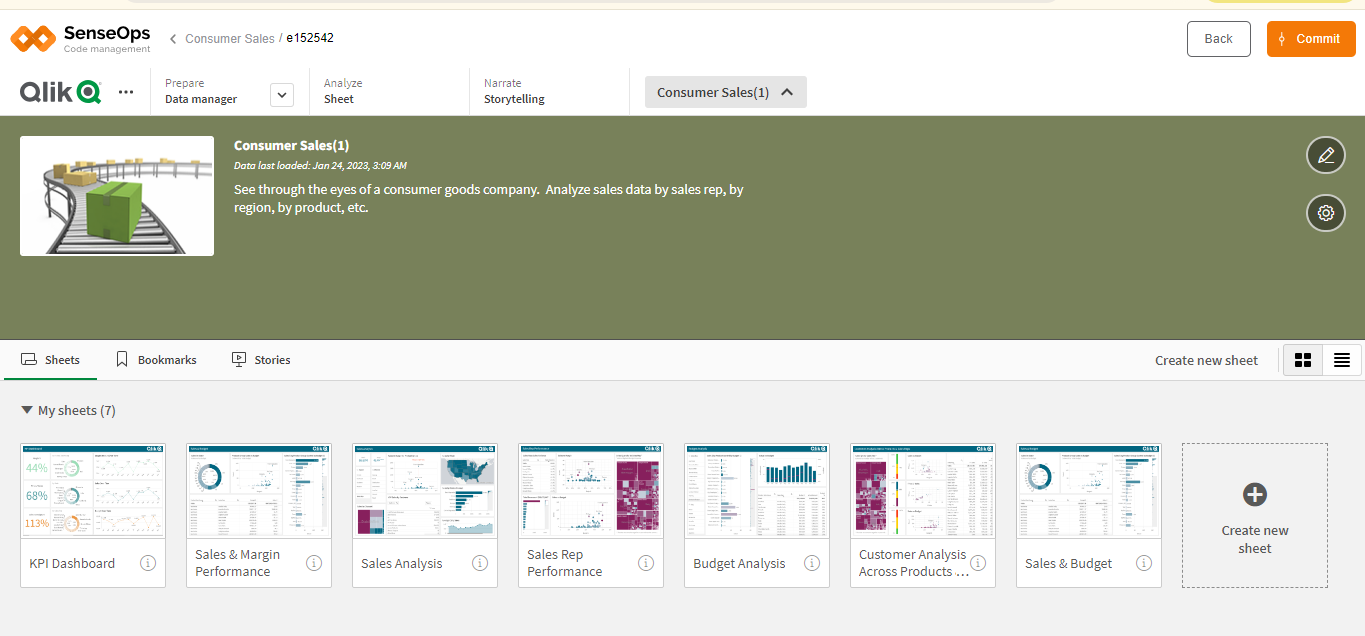
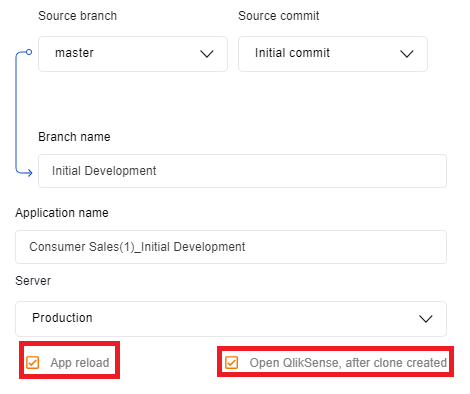
Step 4: Check the "app-reload" checkbox if you want to trigger a reload of the application. Check "open Qlik Sense after clone created" if you wish to directly access the Qlik Sense application after cloning, allowing you to work on it seamlessly within the platform.
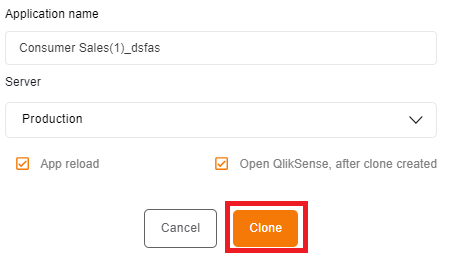
Step 5: Click "Clone" button to start the cloning process. The Qlik Sense application will be cloned accordingly.
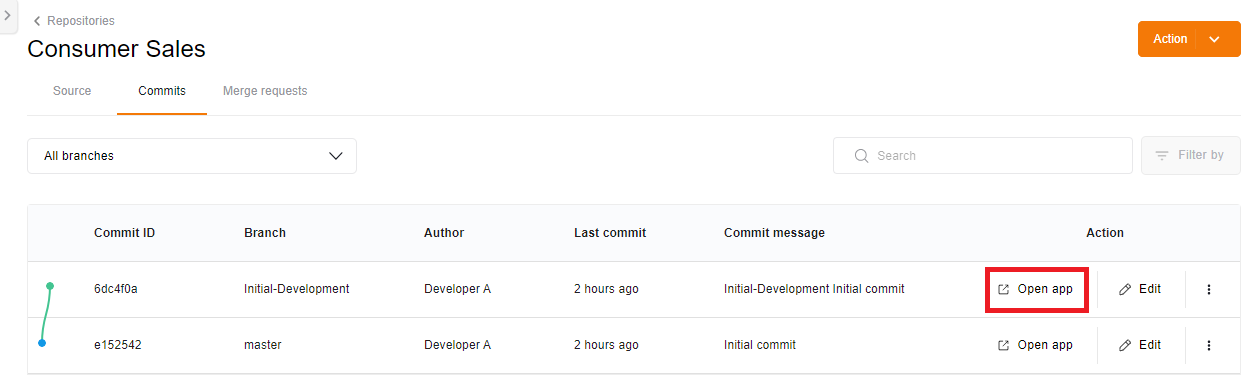
Step 6: You can access the cloned application by clicking on the "Open" button. This will lead you to the commits page where you can view all branches, including the master branch.
Step 7: On the commits page, you'll find comprehensive details of commits executed, such as commit ID, branch name, author, last commit time, and commit message. Simply click "Open Application" to swiftly access the Qlik Sense application directly within the platform, facilitating seamless development.